Time: 2 hours
Serves: 4
Type: Backpacking or Car Camping
Time: 2 hours
Serves: 4
Type: Backpacking or Car Camping
Surprising a group of my students a week into a backpacking trip with freshly baked pizzas is truly a priceless experience. These pizzas bring a bit of home comfort into an unpredictable environment. Since you have to make them one at a time, pizza night is a longer affair than most other dinners. Bring along your favorite toppings and customize each individual pie to each personal taste.
| 1 | Fry Bake (you can double the speed of operations if you happen to have a 2nd fry bake) | |
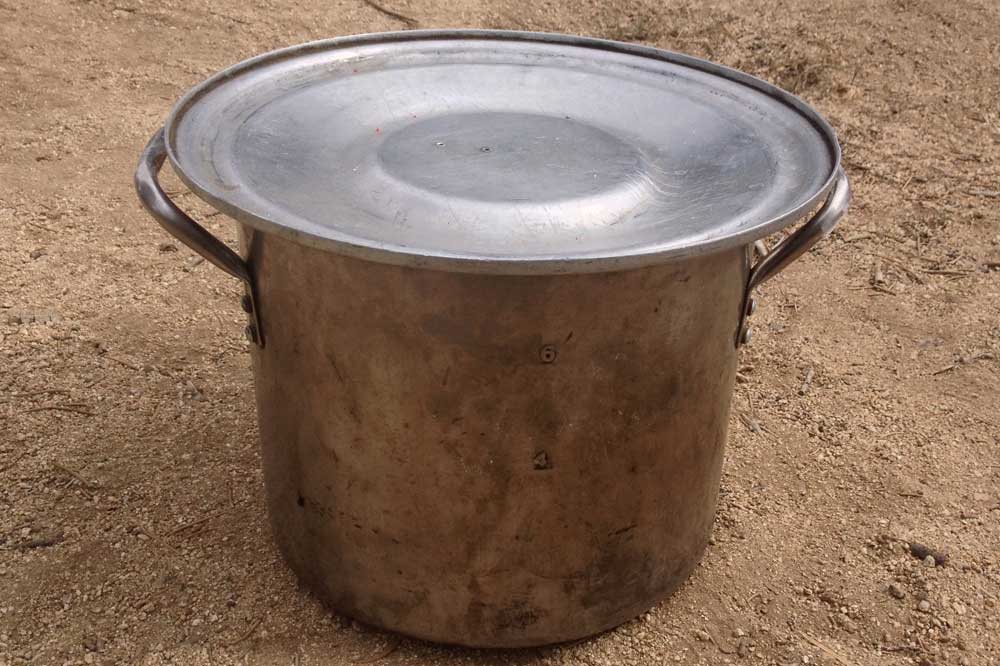
| 1 | Pot (at least 4 liters in size) or alternately a gallon ziplock bag | |
| 1 | Set of Hands ready to get messy | |
| 1 | Stove (simmer capabilities are nice but not required) | |
| 1 | set | Pot Grips |
| 1 | Spatula |
| 2 | Cups | All Purpose Flour, Unbleached |
| 1 | Tbsp | Italian Seasoning |
| 1 | Tsp | Salt |
| 1 | Tsp | Garlic Powder |
| 3 | Cloves | Garlic, Minced |
| 2 | Tbsp | Olive Oil |
| 1 | Tbsp | Active Dry Yeast |
| 1 1/2 | Cups | Water, Heated |
| 2 | Tbsp | Butter |
| 1/2 | Cup | Water, Divided |
| 6 | Oz | Tomato Paste or 14 oz Pizza Sauce if car camping |
| Mozzarella or Cheddar Cheese (cheddar lasts longer without a cooler) | ||
| Pepperoni | ||
| Red Onion, Diced | ||
| Bell Pepper, Diced | ||
| Garlic, Minced (sometimes I sautee the garlic and onion first to reduce the strong flavor) | ||
| Mushrooms, Diced (these don't last terribly long so eat them early) |
Begin preparing your dough at least an hour and a half before dinnertime. Combine all the dough ingredients except for the water and yeast into one large pot and stir. Heat the water until it is too hot to the touch, but not longer. Combine the yeast and hot water in a small bowl and let stand for 5 minutes (this process is called "proofing the yeast". Pour the proofed yeast and water into the flour mixture and begin to knead.
Knead the dough until it is just barely no longer sticky. You will likely need to add small amounts of flour as you go. Be prepared to get really messy! You'll know the dough is ready when it is no longer sticky but still not dry, and it feels slightly springy.
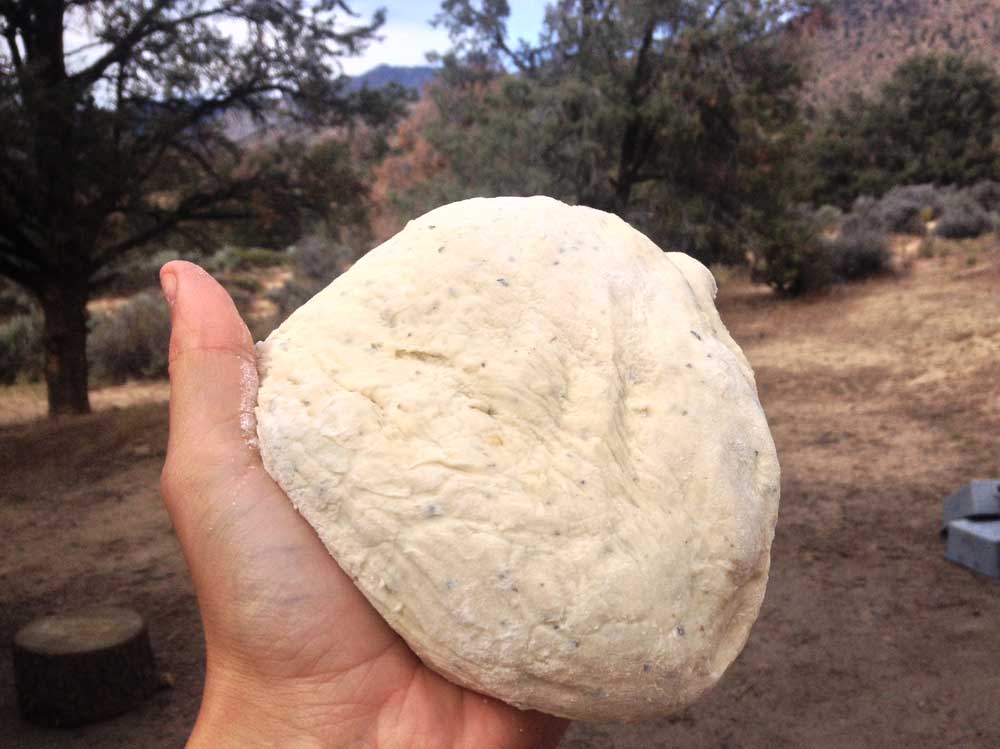
Cover the dough and place it in a warm, sunny location to rise. An alternative for colder weather is to put the dough into a gallon-sized ziplock bag and hold it under your shirt (I call this a "dough baby"). Allow the dough to rise for at least an hour, ideally until it has doubled in size.
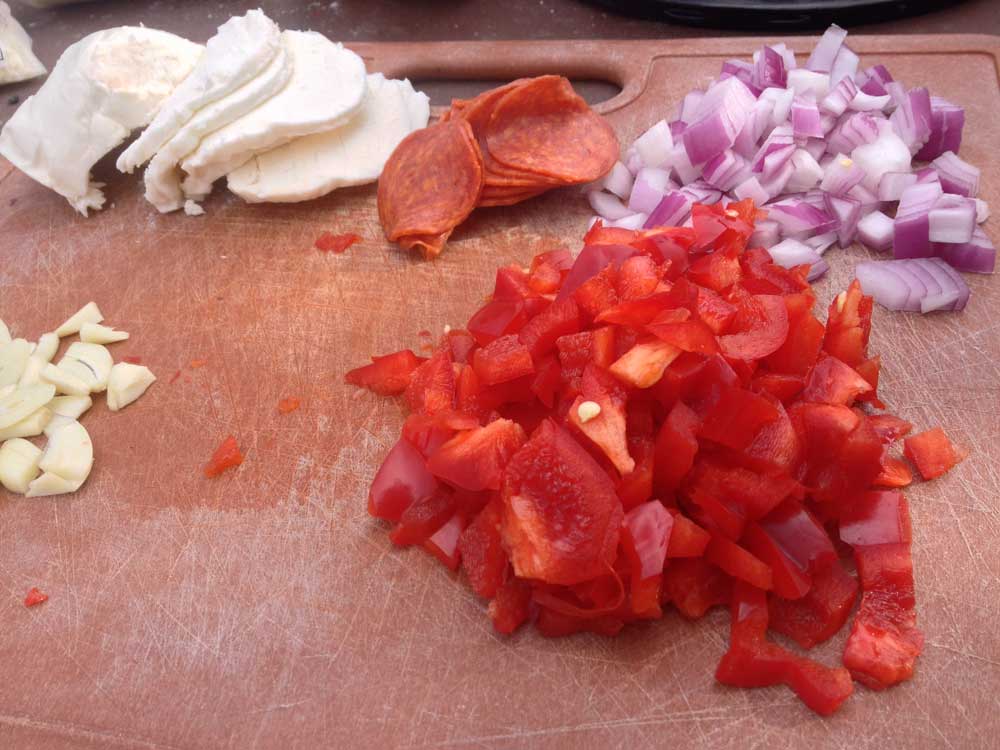
While you are waiting, prepare your topping by chopping them up and request pizza orders from the rest of your group. This is a one-at-a-time kind of meal, so people need to be ready to receive their pizza right out of the pan.
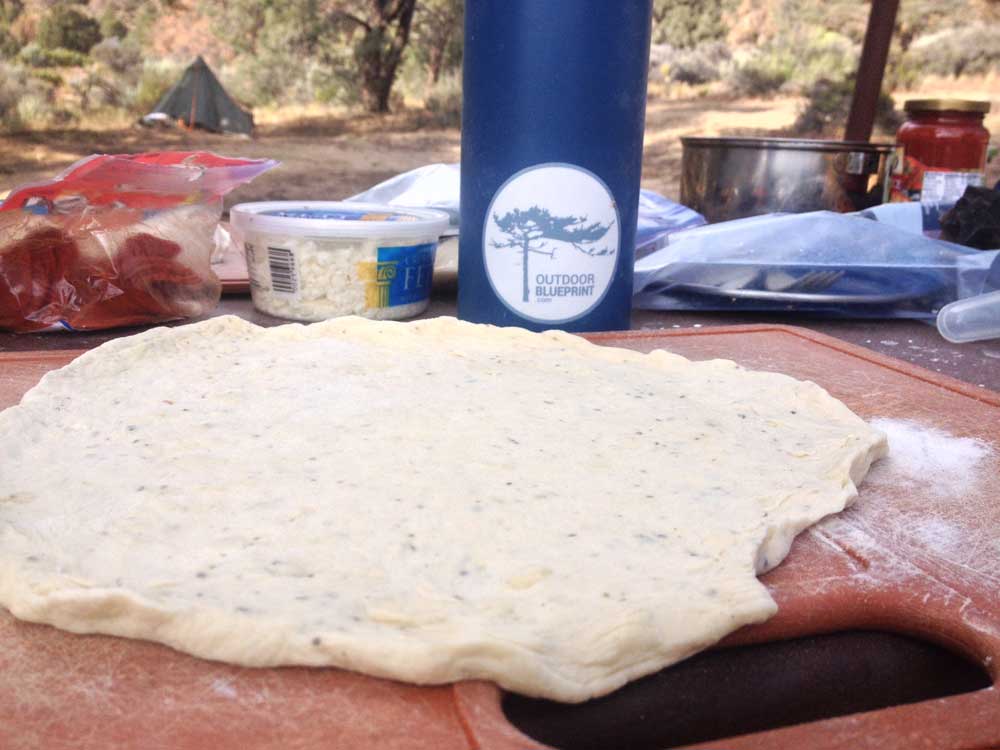
Once the dough has risen, tear it into four equal sized balls, each about the size of an orange. Preheat your fry bake over a low flame and cover the inside with a thin layer of butter. Now it's time to roll out your dough! Using a water bottle and a flat surface (cutting board, table, Frisbee…) roll the dough ball out so that it is roughly the size of the fry bake. Thinner pizzas cook through a little better, but if you don't have any flat surfaces available you can form the pizza crust with your hands by lightly stretching and rotating it.
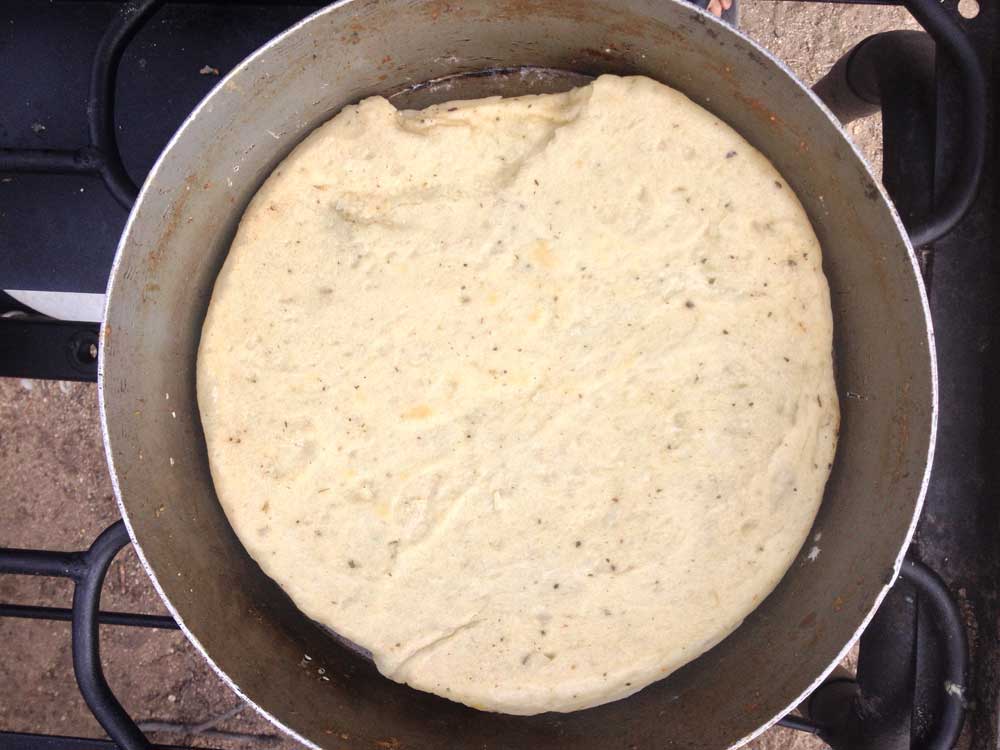
Place the pizza crust dough into the fry bake and cover it. Your stove should either be simmering or using a high-bake technique if simmer isn't available. Cook the pizza dough for about 5 minutes, monitoring it so that it doesn't burn. Once the dough has turned golden brown remove the fry bake from the heat. Use your spatula and spoon to flip the dough over so that the cooked side is facing up.
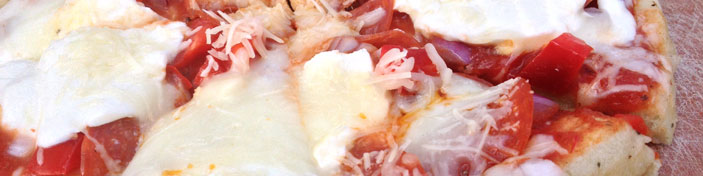
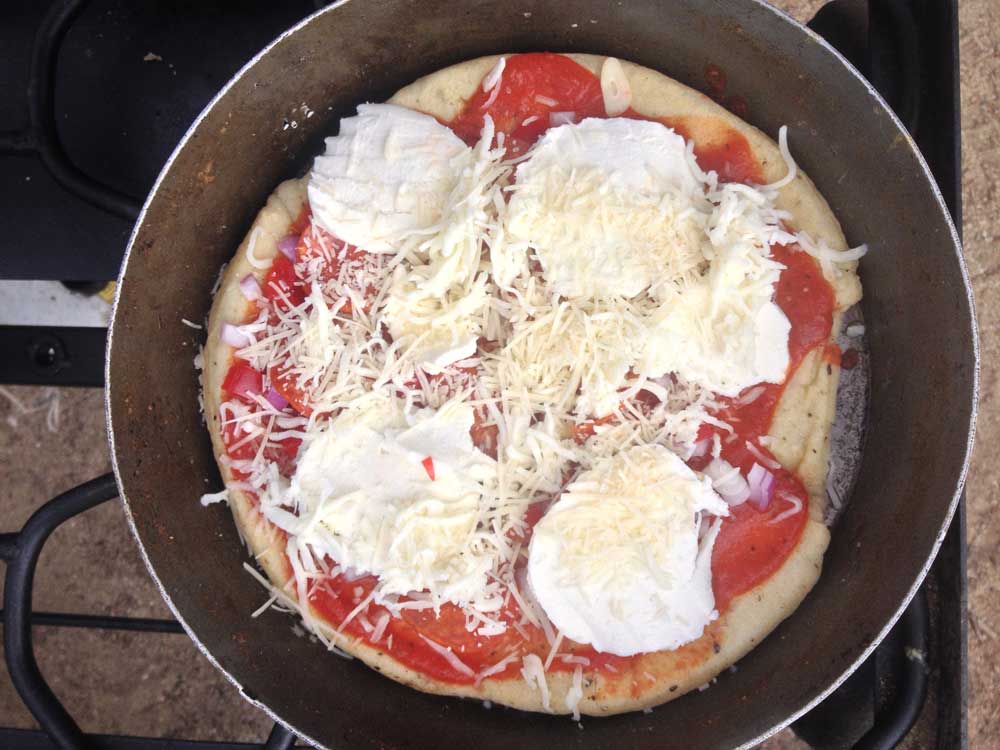
Now it's time for the toppings! Try to work quickly so that the dough stays warm. First, spread tomato sauce or paste onto the cooked crust (if using tomato paste, make sure it's a thin layer). Go crazy on whatever toppings you want – cheese, bell peppers, onions, garlic, pepperoni are all easy to bring. Once all of the toppings have been added, quickly return the fry bake to the heat, cover, and let sit for about 3 minutes.
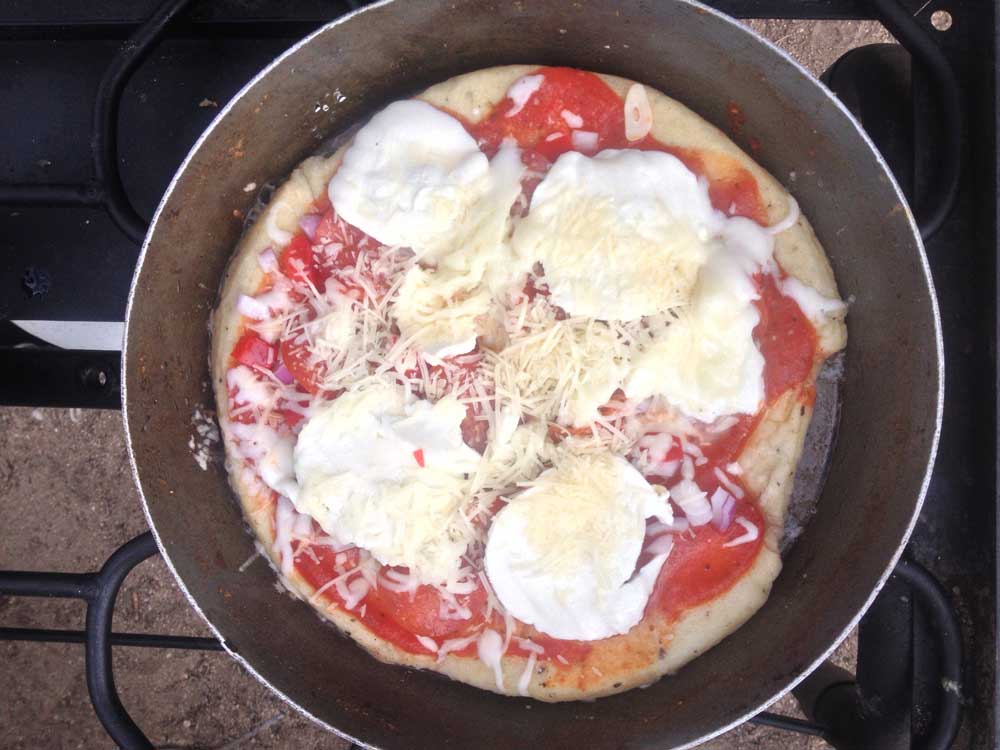
Once the fry bake has heated back up you want to steam the top of the pizza, which helps to melt the cheese and make it extra delicious. Remove the lid and pour a splash of water onto the edge of the pan. If you use too much water the dough will become spongier, so err on the side of less. Quickly cover to capture all of the steam the water creates. Let it cook for another few minutes, and then remove the cover and let any left over water cook off. You may need to continue cooking for another 5 minutes to ensure a crunchy crust.
Using one quick motion, slide the now complete pizza onto a plate or into a bowl, then rebutter the fry bake and get started on the next one!
Don't forget to make one for yourself to enjoy!

This is one of my favorite meals to cook on a backpacking or car camping trip, and serves as a great example of how you can bring fresh food easily into the backcountry.
Are you a fan of freshies in the backcountry? Let me know what you favorite dish is in the comment below.
Sources


